Interacting with Contacts on the Web
If you are a Safari user please continue reading the guide below. If you are a developer start here.
Enable the Contact Picker in Safari iOS
In April 2021, Safari added the ability for a web app to select and read native contacts. However, this feature is hidden behind a flag which means your favorite web apps can’t live up to their full potential.
As we close out of 2023, this feature is still hidden. Apple is probably working through some security stuff with this API as usual or it’s just not a priority for them (more likely). The good news is turning this feature on in Safari is pretty simple so let’s walk through that now.
First, open up your iPhone, go to settings, and click on Safari:
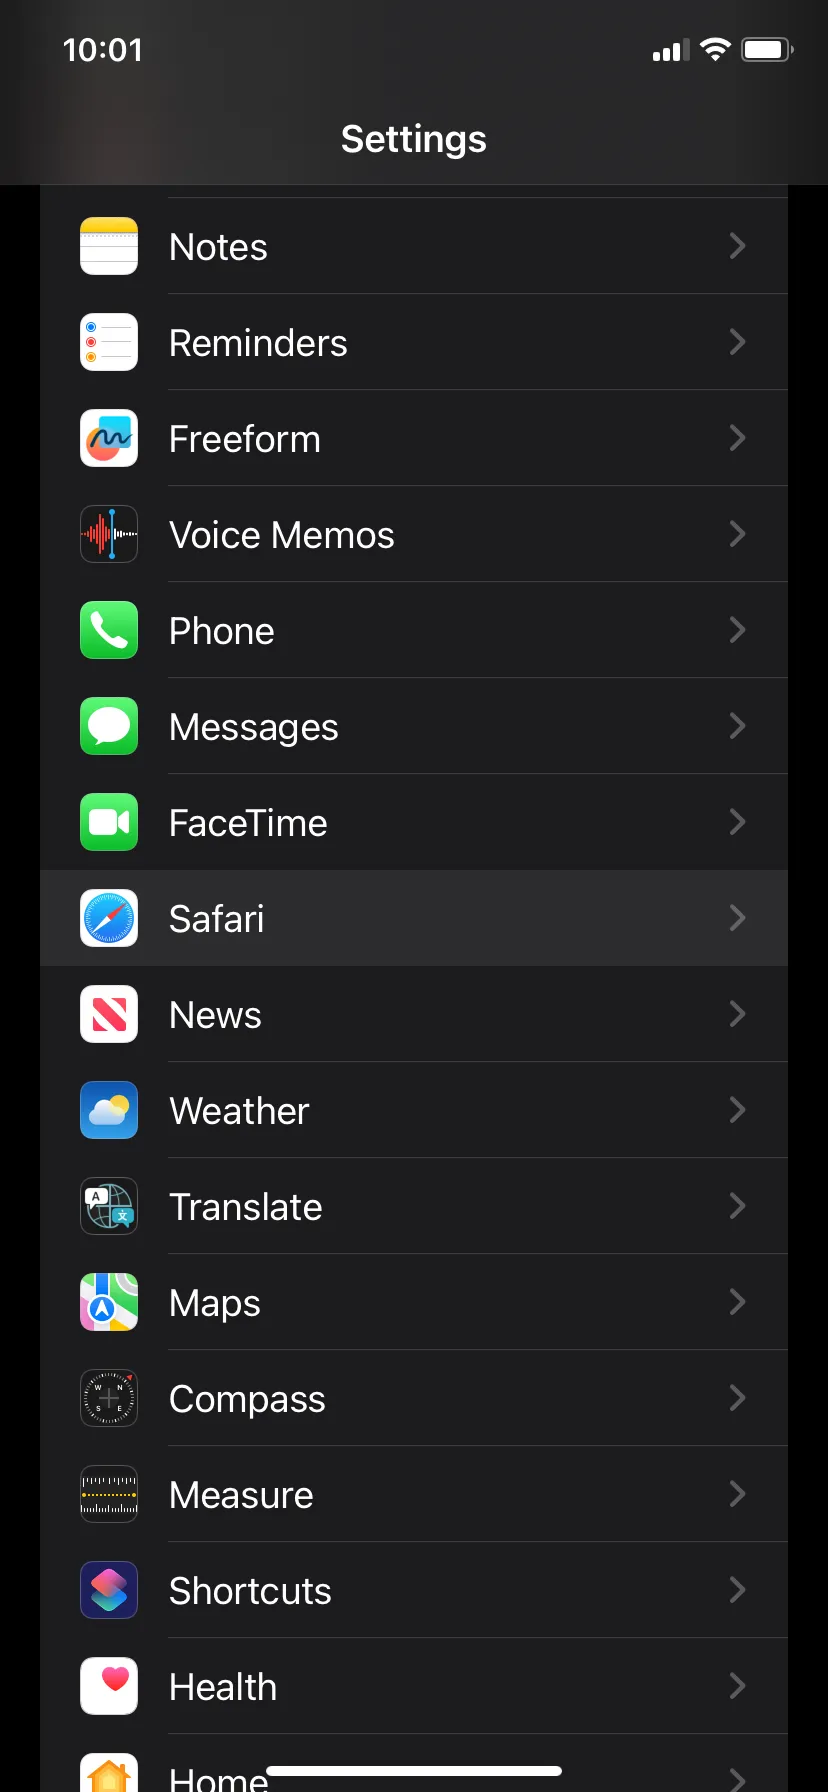
Scroll to the very bottom and tap Advanced. In the Advanced settings, scroll to the bottom again and tap Feature Flags.
You should now see many different settings with the ability to switch them on and off. Scroll down to the setting called Contact Picker API:
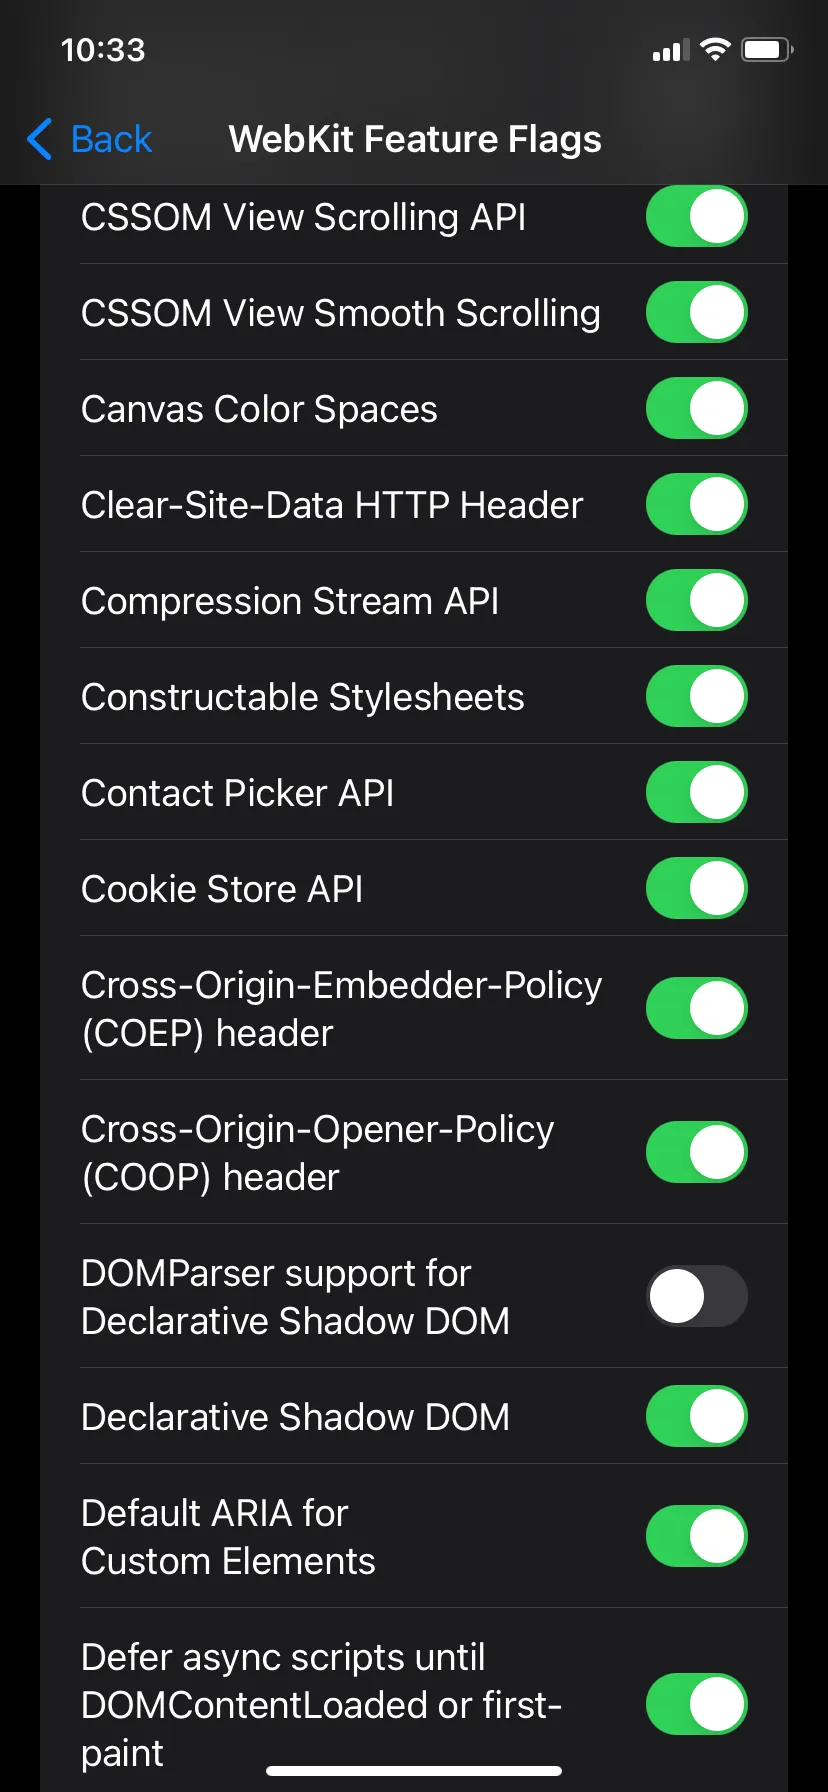
Flip that switch like you’re turning on the disco lights, and voila, the contact picker should work! 🎉
Now, if this upcoming developer lingo makes your eyes glaze over faster than a Dunkin donut, feel free to exit stage left. Otherwise, continue reading for some goodies.
Contact Picker API
Accessing a user’s contacts has been made available to Native applications for years. With the release of the contact picker spec spec, this is now possible in Web Applications!
This API gives one-off access to a user’s contact information. As of 2023, the spec only includes reading contacts but I am hoping they expand this in the future to eventually give write or sync access as well.
This API has many use cases like selecting a contact to import into the application, selecting a contact to message or email, or discovering existing contacts in a system.
Browser support is lacking as of 2023. Only Chrome on Android has this feature enabled by default. Safari on iOS can be enabled as shown in the user guide above. Check MDN’s compatibility table for more details.
Contact Picker Interface
The Contact Picker API currently has one main interface called ContactsManager.
TIP: Remember to be as progressive as possible and check if this API is available in the browser before showing the option to the user:
const isSupported = 'contacts' in navigator && 'ContactsManager' in window
This interface has one main function called select that returns a Promise with an array of contact results. This function takes a list of contact properties as its first argument and some options as its second argument. Here is an example:
const contactResults = await navigator.contacts.select(
	['icon', 'name', 'email', 'tel'],
	{ multiple: true }
)
If we were to create a TS type for contactResults it would look something like this:
type Contact = {
	icon: Blob[]
	name: string[]
	email: string[]
	tel: string[]
}
All possible property options at the time of this writing are:
addressemailiconnametel
See the spec for an updated list.
The only option for the second argument in the select function at the time of this writing is the boolean multiple. Setting multiple to true will change the behavior of the native UI and allow the user to select multiple contacts vs just selecting one.
You can select all properties supported by the current user agent with code like this:
const supportedProperties = await navigator.contacts.getProperties()
const contactResults = await navigator.contacts.select(supportedProperties, {
	multiple: true
})
console.log(contactResults)
The property names are straightforward aside from the icon property. This property refers to an avatar or profile image that might be assigned to a contact. As shown above, this property is of type Blob.
If you want to display this property on an img tag, create a local url with URL.createObjectURL(). You can pass the result to the src attribute. Here is an example in Svelte:
{#each contactResults as contact}
	<div>
		{#if contact.icon.length}
			<img src={URL.createObjectURL(contact.icon[0])} />
		{/if}
		<p>{contact.name[0]}</p>
	</div>
{/each}
Those are the basics to using this API as there isn’t much to it yet. Now go out and try it today in your web apps on iOS and Android!
Bonus: Adapter Pattern
You may be using this API in some import contacts flow alongside providers like Google or Microsoft. If this sounds like you, may I recommend reaching into your bag of patterns and pulling out the adapter?
Creating a thin mapping interface between these contact providers and your application will allow your application to transform the output of these various services into a structured output that your code can understand. We can adapt the output into a uniform interface.
Let’s define what the interface could look like in TypeScript:
export type Address = {
	streetAddress: string
	city: string
	region: string
	postalCode: string
	country: string
}
export type ContactAttribute = {
	name: string
} & (
	| {
			type: 'email'
			value: string
	  }
	| {
			type: 'phone'
			value: string
	  }
	| {
			type: 'address'
			value: Address
	  }
)
export type Contact = {
	id: string
	name: string
	avatarUrl: string
	attributes: ContactAttribute[]
}
Now any code in our application can take a Contact as an input and work with that specific interface. Now we just need to adapt outputs from different contact providers to this interface. We can use the native contact picker output as an example:
async function getNativeContacts(): Promise<Contact[]> {
	const isContactPickerSupported =
		'contacts' in navigator && 'ContactsManager' in window
	if (!isContactPickerSupported) return []

	try {
		// eslint-disable-next-line @typescript-eslint/no-explicit-any
		const contacts: any[] = await (navigator as any).contacts.select(
			['name', 'tel', 'icon'],
			{
				multiple: true
			}
		)
		return contacts.map((c, idx) => {
			const attributes: ContactAttribute[] = []

			if (c.tel.length) {
				c.tel.forEach((tel: string, idx: number) =>
					attributes.push({ type: 'phone', name: `Phone ${idx + 1}`, value: tel })
				)
			}

			if (c.email.length) {
				c.email.forEach((email: string, idx: number) =>
					attributes.push({ type: 'email', name: `Email ${idx + 1}`, value: email })
				)
			}

			if (c.address.length) {
				c.address.forEach((address: any) =>
					attribute.push({
						type: 'address',
						name: `Address ${idx + 1}`,
						value: {
							streetAddress: address.addressLine,
							city: address.city,
							region: address.region,
							postalCode: address.postalCode,
							country: address.country
						} satisfies Address
					})
				)
			}

			return {
				id: idx.toString(),
				name: c.name[0],
				avatarUrl: URL.createObjectUrl(c.icon[0]),
				attributes: attributes
			}
		})
	} catch (err) {
		console.log(err)
		return []
	}
}
You can do something similar to this with the output from Google’s People Api.
Conclusion
I hope this guide helped you get started with the Contact Picker API.
Let me know if you think I missed something or want to dive deeper into a certain topic like the adapter pattern.
If you liked this content please check out my other blog posts and subscribe to my RSS feed.
I am also active on Mastodon.